
This month’s challenge was somewhat odd for me. You see… for the past 7 challenges, I have stayed really close to the recipes, often making them exactly as stated. I would then gaze in awe at the other DBers who had chosen to do wonderfully creative variations that could not be described as anything other than daring. I would then feel somewhat disappointed, feeling like my own productions were kind of plain and boring.
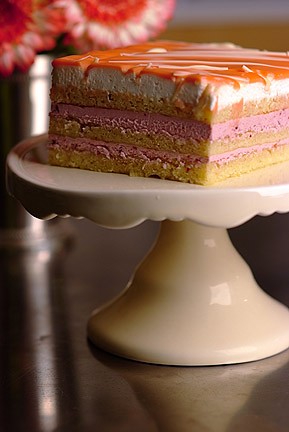
Not this month! I was really excited and inspired by this very elaborate production, but thoroughly uninspired by all the white chocolate components (I have been known to describe white chocolate as sweetened Chap-Stick). I was also pretty disappointed that we couldn’t use dark colors or flavors (chocolate would have been my preference), so I decided to branch out and be creative. I considered keeping my joconde almond (buying packaged almond meal would have been much easier) but decided to go with hazelnut, my favorite kind of nut, and immediately thought of raspberry as a good pairing.
Here came the odd part of the challenge. Since I wasn’t going to keep to the recipes provided, I had to do a fair amount of research to find alternate recipes. This really felt like cheating, although I double-checked and all my modifications were allowed (except maybe for the raspberry mousse recipe… that part was kind of ambiguous, though other DBers also seemed to use their own). In the end, I only used the joconde and syrup recipes provided by the challenge, and used other recipes for the buttercream, mousse, and glaze.
For the joconde, I decided to make my own hazelnut meal. I wasn’t sure how many cups of hazelnuts I would need for 2 cups of meal. As it turns out, I bought maybe twice to three times as much as I needed, which wouldn’t have been a big deal since I love hazelnuts, except that peeling them took FOREVER! It pretty much took a whole afternoon, even with blanching (my peels were really stubborn). And yes, I peeled all of them (at least I didn’t grind them all). Here is the finished product:

The rest of the joconde, flavored with a bit of Frangelico, was pretty uneventful. I baked it in a 17.25x11.5inch baking sheet (it was all I had and was pretty similar in area to the one the recipe called for). I baked the layers one at a time, about 8 minutes each, and they came out fine. I realized while baking the first one that I had forgotten to fold in the butter. I added half the butter to the leftover batter but, to tell you the truth, I couldn’t really tell the difference. The syrup, flavored with Frangelico, was also uneventful, although I didn’t use even half of it. Here is a picture of the joconde cooling:

As for the buttercream, I decided to make it hazelnut flavored too. My past experiences with buttercream have been mixed. For the Perfect Party Cake challenge, my mixer went crazy and the texture never quite got there. For the yule log, the texture was fine but I flavored it with hazelnut syrup (like the one for coffee or Italian soda) and thought the result was too sweet and artificial-tasting. This time around, I decided to use a can of hazelnut praline paste to flavor the buttercream and used the recipe I found on the label, which was just like the Perfect Party Cake one. It came out delicious! My husband said it tasted like real hazelnuts, only better. Here’s a picture:

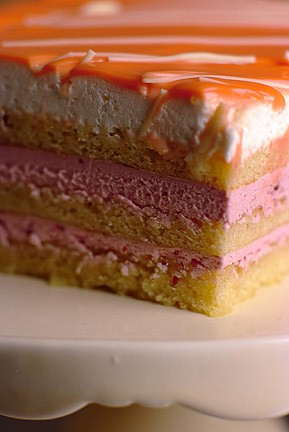
For the mousse, I used this recipe for raspberry mousse. It was super easy and quite possibly the best part of the cake. I’m usually not a fan of mousses with gelatin but thought that, since it was going to be layered, it really needed the extra structure. This recipe is definitely a keeper. The raspberry glaze came from this recipe, which was also super-easy and tasty. My only variation was that I used all the frozen raspberries from the beginning and strained out all the seeds (the recipe calls for half strained and half whole berries). Here’s a picture of the glazing in progress:

Audience Response:
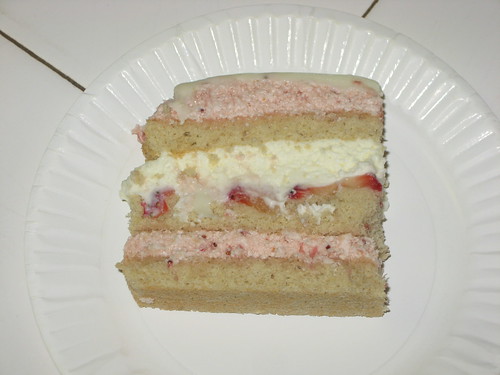
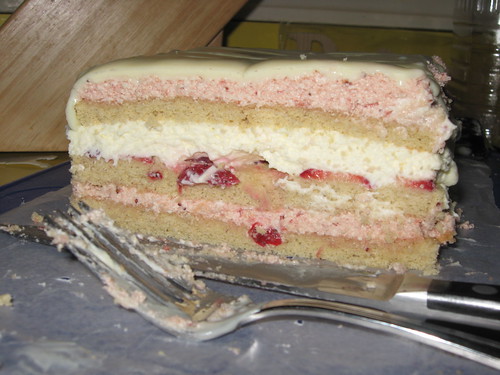
I served this cake at dinner with some our best friends, gave them some leftovers, and then took the rest to work. After my husband cut the edges, I thought the cake looked very professional. Everyone LOVED it. I got a ton of compliments and several requests for recipes, although when I described the work that went into it, most people withdrew their requests. I got a ton of questions about why it was called an Opera cake, and I did my best to make up a good answer (created for the premiere of an Opera in Paris, the word opera means “work” in Italian, the many layers are like the acts of an Opera, etc.). Overall, it was a show-stopper!
What I learned:
1) Peeling hazelnuts is very time-consuming and a pain in the back (literally, as I could barely stand up after hours of sitting and peeling).
2) Making buttercream is a very stressful endeavor. There is always that point in which the mixture looks curdled and awful and you want to cry. Here is a picture of the “moment of heartbreak”:

Now that I have made it a couple of times, I know I have to suspend disbelief and continue to beat the mixture, and eventually it comes together. Still, very anxiety-provoking!
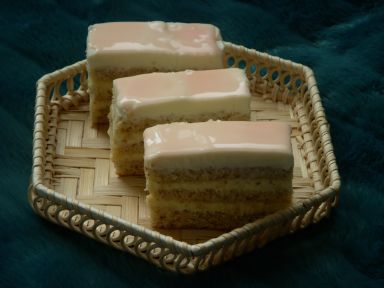
3) The moment to take pictures of your work is not when your guests are sitting around waiting to eat it! Instead of taking our time and cleaning up the edges and posing everything just right, we just took the pictures quickly. I think they came out a bit sloppy.

The Verdict:
I LOVED the cake and will definitely make it again. It has a definite WOW factor, is very tasty, and if you break up the recipe along a couple of days, not too difficult or overwhelming. Perhaps the next one I make will be a chocolate one. YUM!


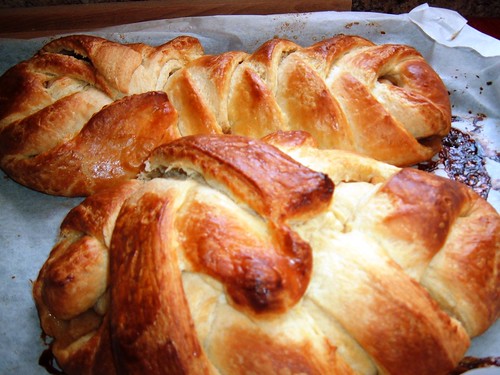
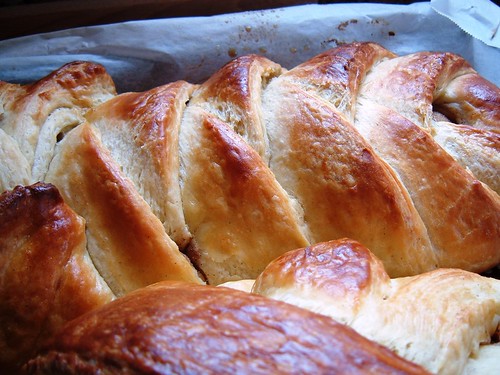
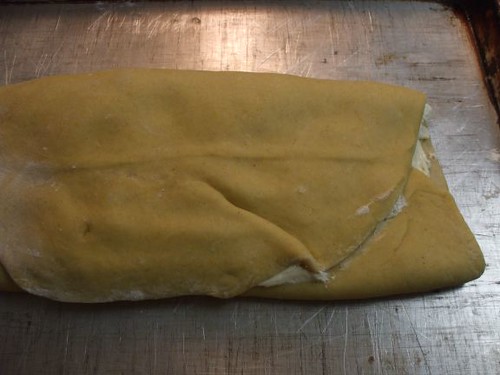
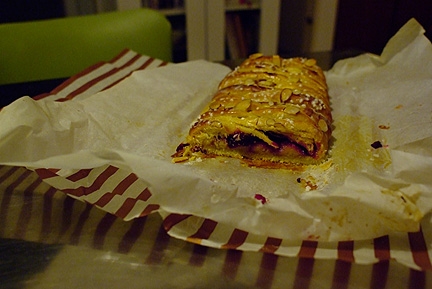
 I followed the recipe almost exactly and used the Apple Filling but I added a cream cheese layer along with it. Since I didn't want to mess up on the actual braiding part, I totally did a knock off of Button's danish braid because it looked so pretty (thanks, Button!).


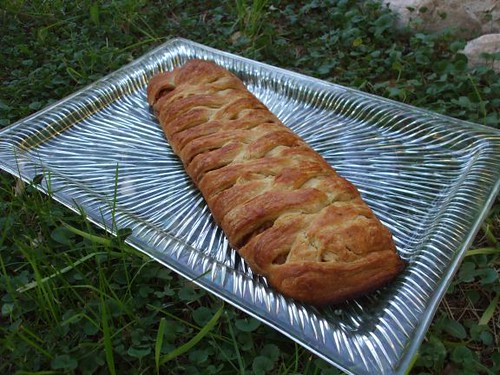

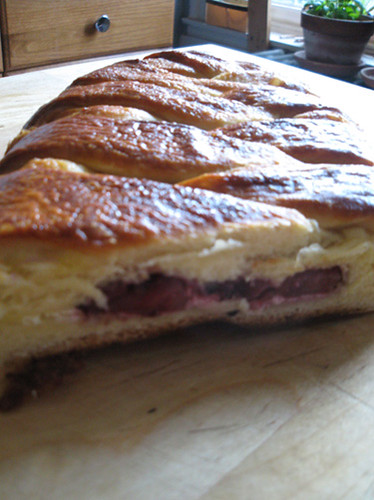


 Thanks again to my talented neighbourhood photographer Jason who took stunning pictures again this month. The DB experience wouldn’t be so much fun if I had to muddle my way through the photography and food styling process with my little point and shoot camera!


