I’ll preface this tale by saying, in my own defence, that I’m a good cook in general, and a good baker in particular, and what follows is not a typical day in my kitchen!
I had doubts about this recipe from the start. I’ve always had it drummed into me that beating a cake too vigorously, whether by hand or machine, will whack all the air out of it so that doesn’t rise properly – so I was a bit alarmed to read in the instructions that the cake was meant to be made entirely by machine.
My second dilemma was over the cake flour. We don’t have anything labelled simply ‘cake’ flour in Australia. You can get plain flour (with no raising agent; what is called all-purpose flour in the US) or self-raising flour. However, as the ingredients also included 1 tablespoon baking powder, I assumed that it was plain flour that was meant.
That little problem solved, I began, shelving my worries about the mixing-by-machine aspect and being dutiful to the DB ‘do exactly what the recipe tells you’ ethos. This approach had to be modified somewhat pretty early on, when I added first the flour and later the liquid while still beating on medium speed, as per the instructions, and ended up wearing a fine film of both. Apart from that, the cake seemed to be coming together well, although the lemon essence worried me a bit, with its distinct dishwashing-liquid aroma. I made the cake in two springform tins of the specified size, although one had a loose clip so I improvised a bit by tying some string around the tin to keep the thing together.
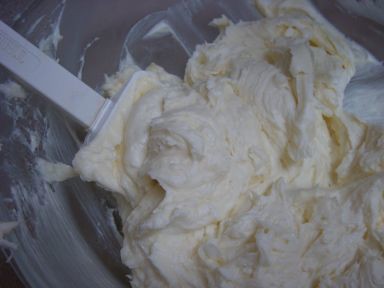
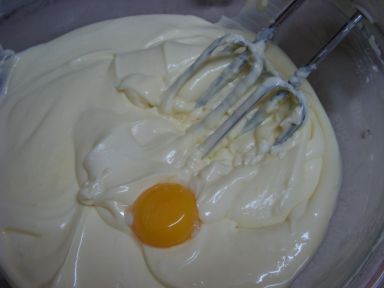
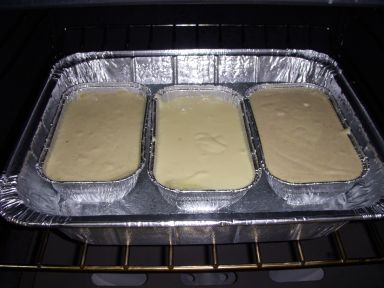
While the cake was cooking, I made the buttercream, which I’ve never made before. I decided to make only a half-quantity, as I wanted to fill the cake with whipped cream and only use the buttercream for the frosting. I’ve always been put off making buttercream — that whisking over hot water business seems like too much of a faff — but it was surprisingly easy and the result was very smooth, of good consistency and tangily lemony. Although the texture was a bit waxen for my liking, I was chuffed with the general result, and feeling pretty pleased with the whole process — until I took the cakes out of the oven, only to find that they had not risen AT ALL. Consternation! Although cooked according to the skewer test, they were soggy and dense, and they stuck to the tins, and were generally pretty unappetising-looking:
It was at this time that I realised I had accidentally used self-raising flour, not plain, PLUS baking powder; this inadvertent generosity with the leavening agents might, I reasoned, have been the problem. So — annoyed but not entirely daunted — I decided to make the cake over again. I had to chop up some fridge-hard butter and put it on a plate out on the balcony to soften, hoping that no native parrots would fly down to explore it, as they tend to do whenever I set foot out there with anything edible. This time I omitted the lemon zest, as I had couldn’t be bothered going to the shops to buy more lemons.
Apart from that little hitch, the second cakes were much quicker to make than the first. While they cooked, and I sieved the raspberry jam — a rather tedious process — I smelled burning. I ignored it for a while, thinking it was the beetroots that I was roasting in the oven at the same time; but then, out of the corner of my eye, I noticed there was a small fire in the oven. I’d forgotten to tie up the dodgy springform tin, and the batter was leaking out of the bottom and falling onto the electric element, where it was now alight. Panicking a bit by now, I combatted it with the aid of a wet dishcloth held in a pair of tongs, then removed the tin, tied it up, put it on a pizza tray and back in the oven. Two more fires promptly ensued, each harder to put out than the previous one, followed by a kitchen full of acrid smoke.
By this time I was wishing I had never heard of the Daring Bakers (or, as I was beginning to think of them, the Dastardly Bakers) and that Dorrie Greenspan had been an aeronautical engineer or something else way outside my area of interest. Could anything else go wrong?, I wondered.
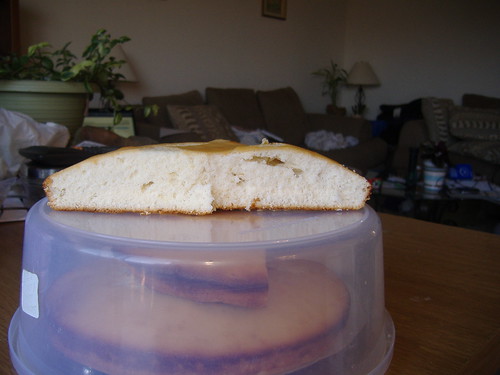
Well, yes — the second batch of cakes came out of the oven just as flat as the first, and equally icky inside:

I had now wasted several hours and ten expensive free-range eggs on this cake, and was fed up with the whole thing. I was expecting four friends to come over and help sample the merchandise in about half an hour, so I officially threw in the towel and rang one of them to ask her to buy something from the local bakery, as otherwise we’d go hungry. It’s a pretty crappy bakery, but hey, anything was going to be better than what was currently coming out of my kitchen!
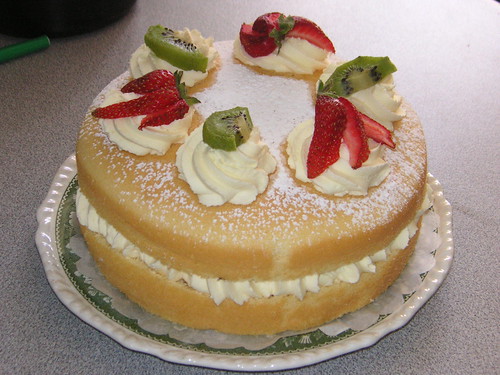
This is what we ended up eating:
I asked my friends for their comments on the DB cake.
In response to Dorrie Greenspan’s claim that this is a ‘snow white cake’ one said, ‘Snow white? It’s more like one of the seven dwarves!’
Other comments:
‘A little doughy — and very flat! The best thing about it is the smell — a perfect cake for a breatharian.’
‘Crispy on the outside, eggy and damp on the inside. Disconcerting.’
‘A very flat, dull-tasting cake.’
‘Heavy, wet texture, sweet buttery flavour, yellow colour, flat appearance.’ This friend — not normally a conspiracy theorist — wondered if there was a deliberate mistake in the recipe to make for more interesting blogging, her reasoning being that it would be pretty boring reading about a whole bunch of perfect cakes.
She also suggested that the recipe be renamed The Perfect Party Pancake.
However, they all thought that the buttercream was acceptable, and we had a good laugh at my expense, so the day wasn’t a complete disaster.
At least now I know how to make buttercream. Now all I need is a use for all those spare egg yolks.
- Janine


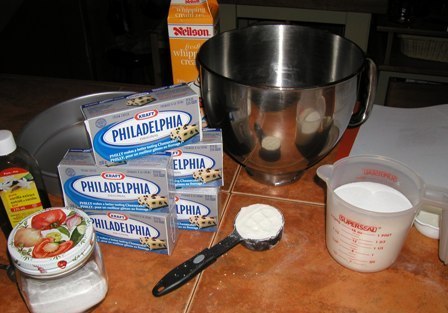
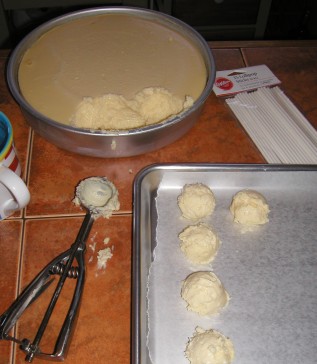
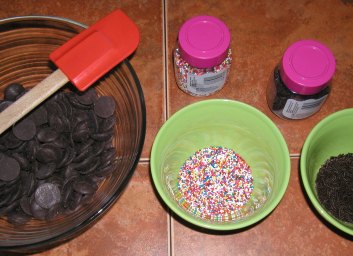
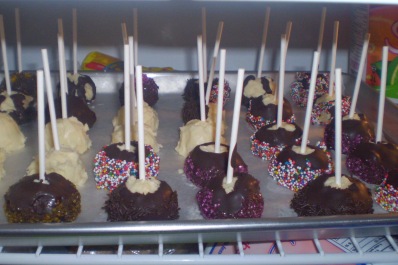
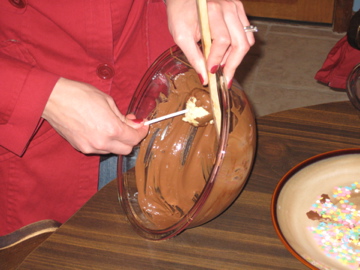
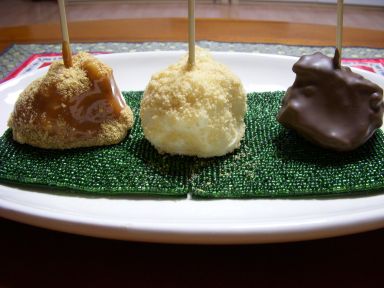
 to resort to toothpicks. The toothpicks weren't too cute, so I took them out and ended up with little bites instead of pops.
 to resort to toothpicks. The toothpicks weren't too cute, so I took them out and ended up with little bites instead of pops.


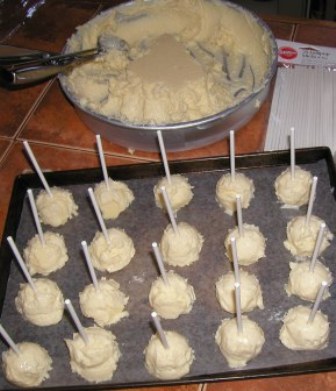
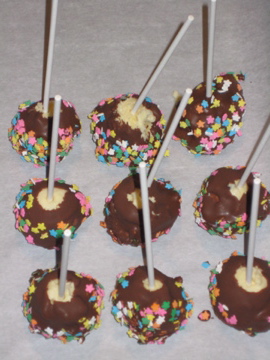
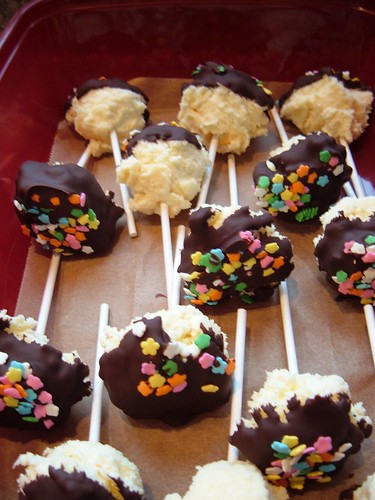
 Not too shabby except for a couple losers on the end that couldn't stand up straight:
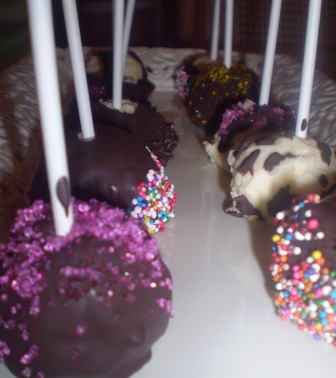
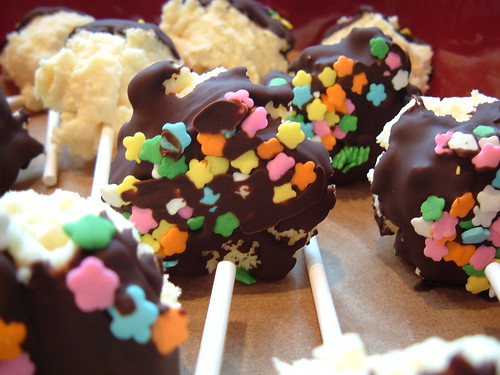
 Here are some close-ups: